Because I was too lazy to set up my camera and find the memory card and all that jazz, I am using a
stock image that I found on
Deviant Art.
I chose this image, because as you can see, the model has no make-up on her lips, which is good for showing how to add lip gloss.
Step 1 :- Open the image in photoshop and duplicate the layer. I always do this just in case I make a mistake when using the healing brush or I just want to see the original untouched image.
Step 2 :- Use the magnetic Lasso tool to go round the lips and then right click to create a layer via copy
 |
| To find the magnetic lasso tool, right click the lasso toll and it is in the drop down menu |
Make sure you set the feather to about 10-30 px depending on how big the image is.
If you close the other layers, the new layer should look like this.
Step 3 :- Go to Filter > Filter Gallery

Click on the Artistic folder and the Plastic Wrap option
Keep the detail low and smoothness high in order to create th glossy look, use the highlight strength slider to decide how glossy you want the lips to be.
The image should now look like this
Step 4 :-
Use the eraser to remove the teeth fro the copied layer
It should look like this once you've removed them

Set the bottom layer to visible and the image should look like this
Bonus Tips!!
To add colour create a new transparent layer on top of all the other layers
Then select the paintbrush
and a colour you'd like to use. (I went for a hot pink colour)
Set the layer to soft light
and paint over the lips like so
So the image will then look like this once finished
Adding Glitter
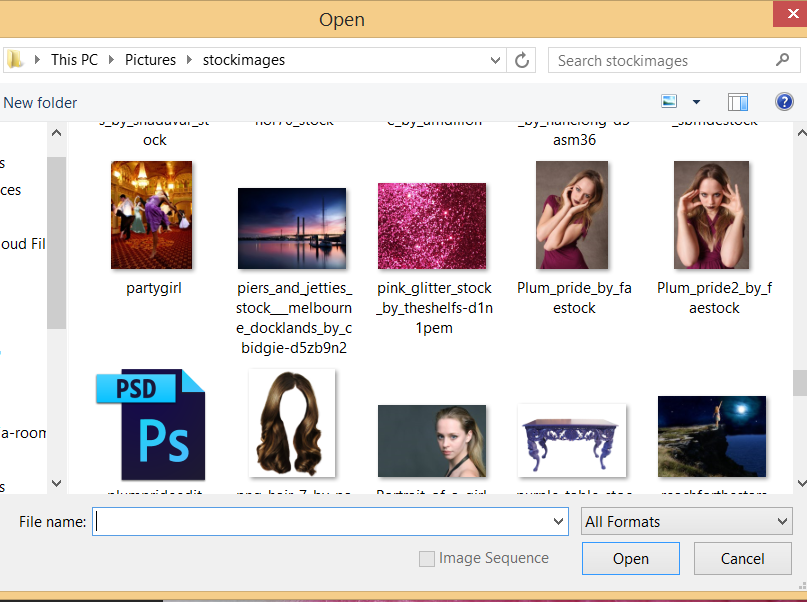
So to add glitter to the lips, you have to open another image
I used this
glitter stock image again from Deviant Art
move it to the the image of the lips so it will become a new layer to the image.
You may have to resize or move the image, but I didn't need to so I left it.
Set the layer to Overlay
So it will end up looking like this
Lower the opacity right down to make it easier to work with so you can see the outline of the lips again
Use the magnetic lasso tool again to go round the lips
After outlining the lips, then click the layer mask button, which is the white square with a black circle
The layer mask will remove part of the image that you don't want, however you will have to use the black paintbrush to remove the teeth
I set the layer opacity to 65, but it depends on how much you want the glitter to show.
So after a bit of retouching, my final image looks like this :)


No comments:
Post a Comment